Tips And Tricks For Using Obs Screen Recorder
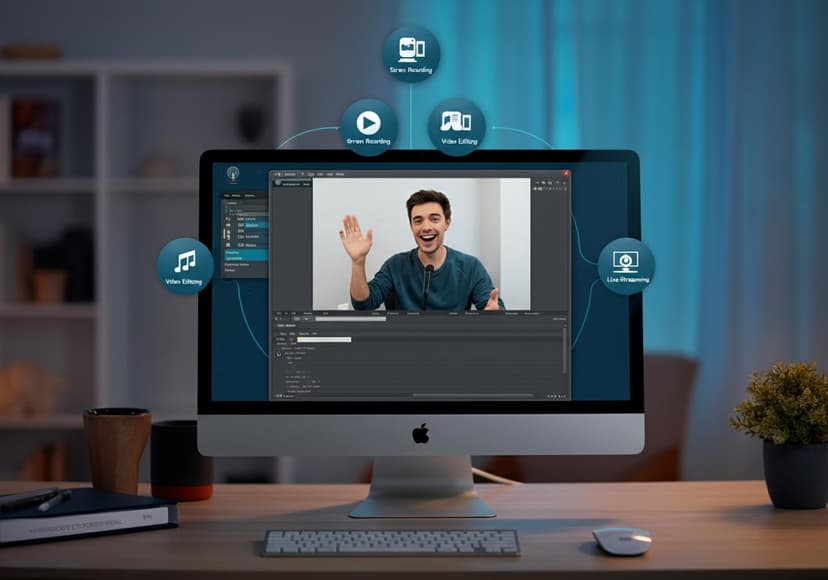
This software offers efficient screen recording. Users can capture high-quality videos, edit, and stream easily.
Introduction
Are you looking for the Best Screen Recorder to capture your gameplay, create tutorials, or even live stream? Look no further than OBS Screen Recorder! OBS Studio is a powerhouse, giving you all the necessary tools to record, capture, and edit your videos seamlessly. With a bit of practice, you’ll have everything organized for professional-quality video recording. In this blog post, we’ll walk you through some essential tips and tricks to make the most out of your screen recording software.
Getting Started with OBS Studio
The first thing you need to do is download and install OBS Studio. It’s free, open-source, and available for Windows, Mac, and Linux, making it accessible to anyone. Once you’ve installed it, open OBS Screen Recorder and familiarize yourself with the layout. You’ll notice the different sections such as Scenes and Sources; these are critical to your screen capture journey.
If you're unsure about where to start, browse through various forums like this one on display capture recording. They can guide you through specific queries and allow for smoother initial setups.
Basic OBS Settings
Before diving into the actual recording, let’s tweak some basic OBS settings. Ensure that your video format is set to a quality that matches your needs—higher bit rates will give you better visuals but require more storage. Check the audio settings to capture sound from your computer and microphone, which is crucial for tutorials and gameplay recording.
Also, be sure to understand the Frame Rate setting, vital for smooth playback. A common frame rate for video recording is 30fps, but for high-action content, you might want to go with 60fps. A great tutorial on this is posted in the forums; check out how to adjust your size when recording here.
Creating Scenes and Sources
In OBS Studio, "Scenes" and "Sources" are your best friends. Start by creating a new scene for each different recording situation, like one for your webcam and another for full-screen gameplay. Under each scene, you can add various sources such as Display Capture, Window Capture, or Game Capture. This flexibility allows you to switch between different types of content effortlessly.
For example, when doing a tutorial, you may only want to capture a specific part of the screen. You can easily set this up. Not sure how? Check out this helpful forum about recording a portion of the screen: learn more here.
Advanced Recording Techniques
Now that you’re familiar with the basics, let’s dive deeper into some advanced techniques that can really take your videos to the next level. Consider using hotkeys for starting and stopping recordings easily. This is particularly handy when you’re in the middle of a gaming session or tutorial and don’t want to switch back to the OBS window.
You can also apply filters to your sources like chroma keys for green screens or color correction to give your videos a polished, professional look. These little tweaks go a long way in enhancing your overall video quality!
Video Editing and Post-Production
So you've recorded your footage—what’s next? Well, the magic often happens in the editing room. OBS can export raw footage that you can then import into video editing software like DaVinci Resolve or Adobe Premiere. Don't hesitate to cut out errors or add overlays and effects. These edits can enhance the learning experience for viewers and make your content more engaging.
Live Streaming with OBS
One of the standout features of OBS Studio is its ability to live stream. You can broadcast directly to platforms like Twitch, YouTube, or Facebook Live with just a few clicks. Just like recording, you have multiple settings to customize your stream quality and output. Be sure to test these settings before you go live to ensure everything runs smoothly.
Troubleshooting Common Issues
Running into issues? Don’t stress! The OBS community is filled with dedicated users who share valuable insights. Problems like lag, audio sync, or visual glitches are common but solvable. Often, the community’s forums have threads addressing similar issues. Take advantage of that collective knowledge; after all, many have been in your shoes!
Conclusion
In conclusion, OBS Screen Recorder is an incredibly versatile tool for anyone interested in screen recording, video recording, and live streaming. With the tips and tricks mentioned in this guide, you'll be well on your way to creating stunning content. Practice, experiment and most importantly—have fun! Happy recording!
Have any questions or tips of your own? Feel free to comment below!
Posts Relacionados

5 Ways To Streamline Your Marketing Efforts
Automated Marketing Platforms can enhance efficiency, boost lead generation, and improve campaign performance for greater results.
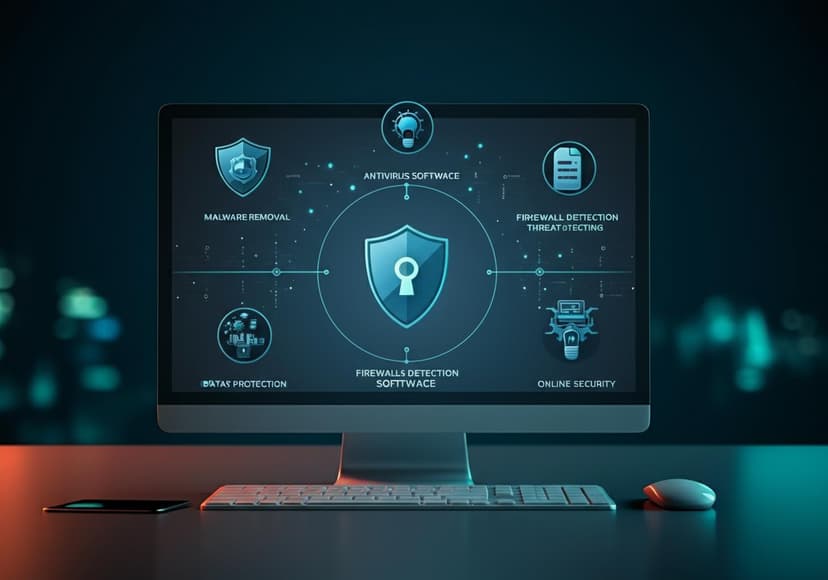
Antivirus Software Comparison Guide
It analyzes various antivirus software. Features, security, and performance ratings are compared for optimal protection.
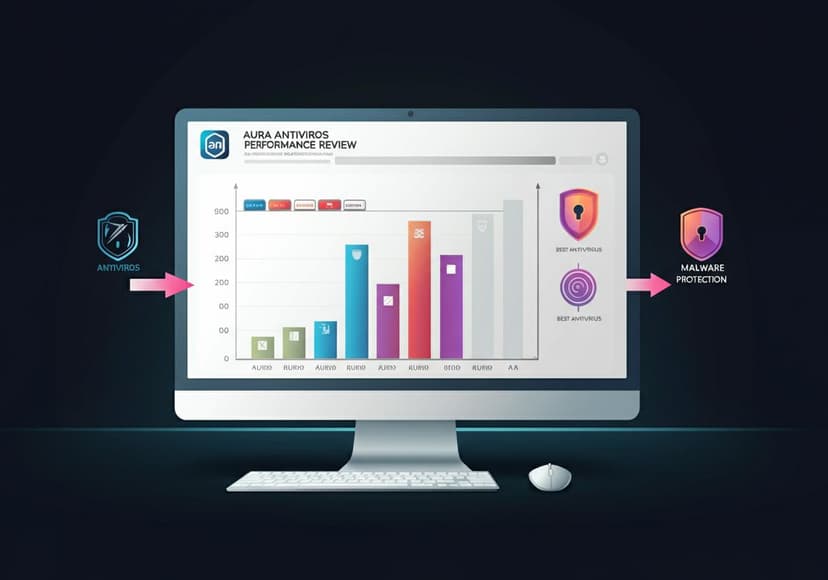
Aura Antivirus Performance Review
The antivirus effectively defends against malware. Its performance is commendable, providing reliable protection for users.